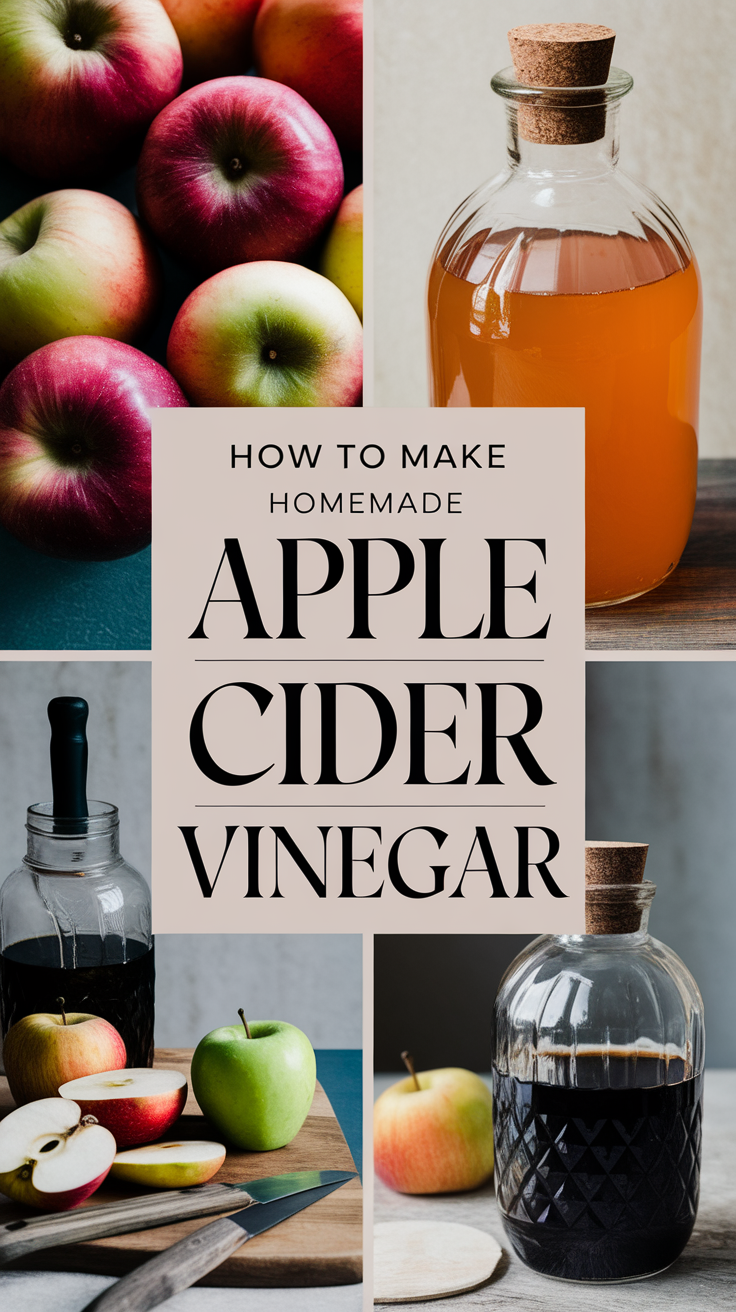
How to Make Homemade Apple Cider Vinegar
To make homemade apple cider vinegar, start by choosing a mix of sweet and tart apples, like Fuji and Granny Smith. Wash and chop about 6-8 apples, keeping the skins and cores. Combine the apples with a cup of sugar per quart of water in a clean jar. Cover it with a cloth and let it sit in a warm, dark spot. Stir occasionally and watch for bubbles, which signal fermentation. After a few weeks, taste your vinegar; it should smell tangy and vibrant. You can explore flavor enhancements that make it truly your own.
Key Takeaways
- Select a mix of sweet and tart apples for balanced flavor; wash and cut them into quarters, keeping skins and cores.
- Use a ratio of 6-8 apples per quart of water and add 1 cup of sugar to initiate fermentation.
- Allow the mixture to ferment in a warm, dark place for 1-2 weeks, stirring occasionally to introduce oxygen.
- Monitor fermentation for bubbles and smell; a tangy aroma and film formation indicate readiness and healthy bacteria.
- Store finished vinegar in a dark, cool place for up to two years, and consider infusing with herbs or fruits for added flavor.
Selecting the Right Apples
When selecting the right apples for homemade apple cider vinegar, what should you keep in mind? The choice of apple varieties plays an essential role in the final taste profiles of your vinegar.
Ideally, you want a mix of sweet and tart apples to create a well-rounded flavor. Sweet apples like Fuji or Gala provide a delightful base, while tart varieties such as Granny Smith or Braeburn add the necessary acidity.
Don’t shy away from using a variety of apples, as this blend enhances complexity. For instance, combining a sweet apple with a tart one can create a delightful balance that elevates the overall taste.
If you have access to local orchards, consider trying heirloom varieties, which often bring unique flavor notes that commercial apples lack.
You’ll also want to select apples that are fresh and firm. Avoid any bruised or overripe fruit, as these can lead to undesirable flavors in your vinegar.
By choosing the right mix of apple varieties, you’re setting the stage for a rich, flavorful homemade cider vinegar that’s sure to impress.
Preparing the Ingredients
Preparing your ingredients is an essential step that can greatly influence the quality of your homemade apple cider vinegar. Start by selecting a mix of apple varieties to create a balanced flavor. Sweet apples like Fuji and Honeycrisp can complement tart varieties such as Granny Smith or Bramley. This combination adds depth and complexity to your vinegar, enhancing its taste.
Next, you’ll want to focus on ingredient proportions. A common ratio is about 6-8 apples per quart of water, but you can adjust based on your taste preferences and the sweetness of the apples.
Make sure to wash your apples thoroughly to remove any pesticides or wax. You can cut them into quarters, leaving the skins and cores intact, as these contain natural yeasts that aid fermentation.
If you’re adding sugar to kickstart the fermentation, a good starting point is 1 cup of sugar per quart of water. This helps feed the yeast, resulting in a more robust fermentation process.
Once your apples are prepped and your proportions set, you’re ready to plunge into the next exciting phase of crafting your homemade apple cider vinegar!
Fermentation Process
The fermentation process is where the magic happens, transforming your simple apple mixture into tangy apple cider vinegar. Once you’ve prepared your apples and combined them with water and sugar, it’s time to let nature work its wonders.
You’re tapping into wild fermentation, which relies on the natural yeasts present on the apple skins and in the air. This spontaneous process creates a vibrant mix of flavors and aromas.
As the sugars in your mixture ferment, yeast converts them into alcohol. This initial stage usually takes about one to two weeks. You’ll notice bubbling as gases release, signaling that the fermentation is in full swing.
After this phase, it’s time for the bacterial cultures to take over. These helpful bacteria, particularly acetic acid bacteria, thrive in the alcohol-rich environment, converting the alcohol into acetic acid—the key component of vinegar.
Throughout this process, keeping the mixture in a warm, dark spot aids fermentation. Remember to stir it occasionally to introduce oxygen, which encourages the growth of those essential bacteria.
Embrace the transformation, and soon, you’ll have your very own homemade apple cider vinegar!
Monitoring and Storing
Keep a close eye on your apple cider vinegar as it transforms; monitoring is essential to verify a successful fermentation.
You’ll want to check it regularly to ascertain everything’s going smoothly. Pay attention to the fermentation temperature, as it should ideally stay between 60°F and 80°F. Too cold or too hot can disrupt the process, leading to undesirable results.
Here are three key aspects to monitor:
-
Bubbles and Foam: Look for bubbles forming on the surface; this indicates active fermentation. Foam might appear, which is perfectly normal.
-
Smell and Taste: After a few weeks, sample your vinegar. It should have a tangy smell and taste; a sweet flavor might mean it’s not ready yet.
-
Appearance: You may notice a film forming on top, known as the “mother.” This is a good sign! It shows that healthy bacteria are at work.
Once your vinegar reaches the desired acidity, store it in a dark, cool place.
Properly stored, homemade apple cider vinegar can have a shelf life of up to two years, so you can enjoy your creation for a long time!
Enhancing Flavor and Uses
There’s something delightful about enhancing the flavor of your homemade apple cider vinegar, transforming it into a versatile ingredient for various culinary applications.
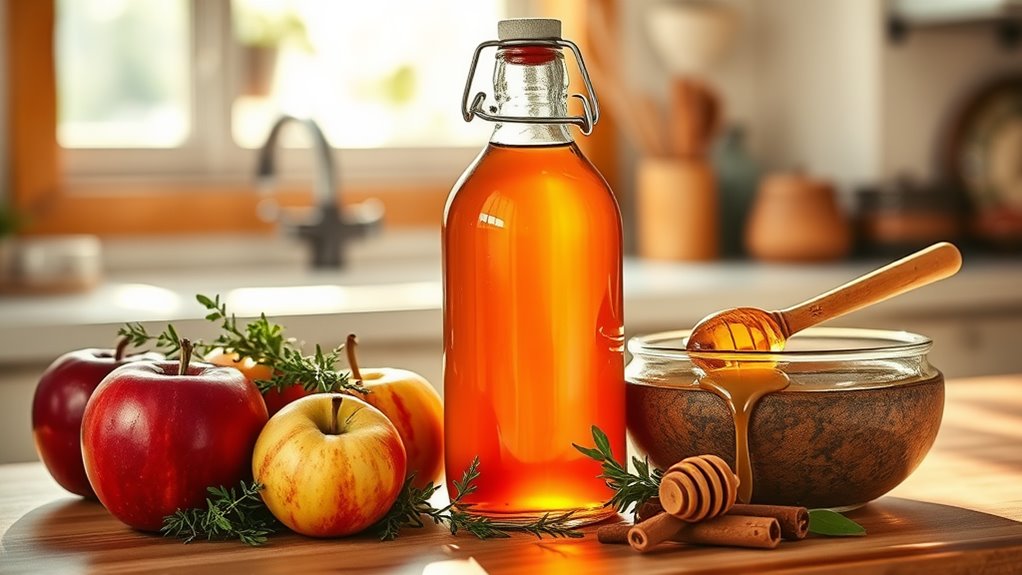
You can infuse your vinegar with herbs, spices, or fruits to craft unique flavor profiles. Consider adding fresh basil or rosemary for a savory twist, or try berries for a hint of sweetness. Let the infusion sit for a week to fully develop the flavors.
When it comes to cooking tips, use your flavored vinegar in dressings, marinades, or as a finishing touch for roasted vegetables. The possibilities are endless! You can also mix it into beverages for a revitalizing drink with a zing.
Beyond its culinary uses, apple cider vinegar offers numerous health benefits. It may aid digestion, support weight management, and help regulate blood sugar levels.
Frequently Asked Questions
Can I Use Store-Bought Apple Juice Instead of Fresh Apples?
Did you know that around 70% of apple juice in stores is made from concentrate? If you use store-bought juice, guarantee it’s high-quality to reap the benefits, but fresh apples yield a richer flavor.
How Long Does Homemade Apple Cider Vinegar Last?
Homemade apple cider vinegar typically lasts about a year when stored properly. For ideal shelf life, keep it in a cool, dark place. Always seal it tightly to maintain freshness and prevent contamination. Enjoy your vinegar!
Is It Necessary to Use Organic Apples?
Ever wondered why organic apples shine in your kitchen? Their benefits—fewer pesticides and richer flavor—can elevate your vinegar. Non-organic concerns about chemicals might make it worth choosing organic for a healthier, tastier outcome.
What Type of Container Is Best for Fermentation?
For fermentation, glass jars are ideal because they’re non-reactive and allow you to monitor the process easily. Using proper fermentation vessels helps guarantee a successful outcome, protecting your mixture from contaminants while promoting healthy growth.
Can I Add Other Fruits to My Apple Cider Vinegar?
Sure, toss in some berries or citrus! Imagine a fruit party where fermentation flavors dance together. Experimenting with fruit combinations can elevate your apple cider vinegar, making it a unique, tangy masterpiece you’ll love!


